
- What Is Wet Sanding
- Process of Wet Sanding
- Benefits of Wet Sanding
- Tips for Wet Sanding
- Wet vs. Dry Sanding
- FAQs
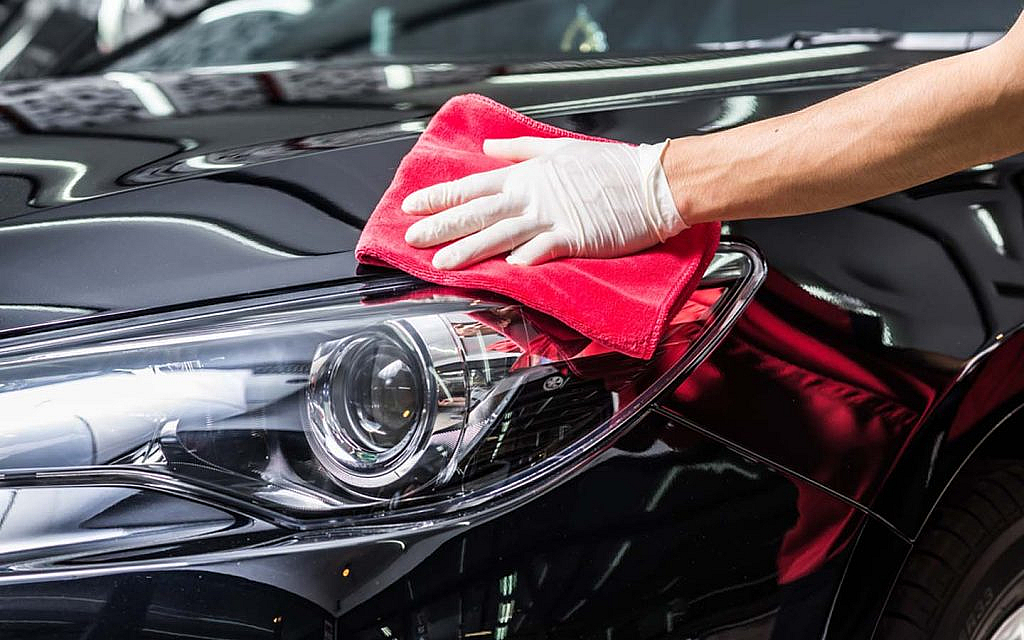
Wet sanding is a paint correction technique which eliminates surface imperfections like scratches, orange peel and oxidation from a car’s paint. This process provides a smoother, high-gloss finish by using water as a lubricant during sanding to prevent excessive heat or damage. Here’s a detailed guide on wet sanding a car, its benefits and how you can perform it.
What is Wet Sanding a Car
Wet sanding is a process that involves using fine-grit sandpaper (typically 1,500 to 3,000 grit) soaked in water to lubricate the surface. The water reduces friction, prevents overheating and washes away debris. This also makes the sanding process smoother and safer for the paint. Wet sanding helps level the paint surface, making it ready for car polishing and buffing to achieve a smooth, mirror-like finish. It’s commonly used in paint correction and restoration work.
Step-by-Step Guide to Wet Sanding a Car’s Paint
This step-by-step guide will help you achieve professional results when wet sanding your car.
Step 1: Preparation
Before you begin wet sanding, it’s essential to gather the right materials and prep your car.
Materials you’ll need
- Various grit wet/dry sandpaper (starting from 1000 grit and moving up to 1500 or 3000 grit)
- Spray bottle with clean water
- Car wash soap and microfiber cloth
- Masking tape (to protect edges and areas you don’t want to be sanded)
- Polishing compound and wax
- Orbital polisher (optional)
Step 2: Wash the Car

Thoroughly clean the car’s surface with soap and water to remove dirt, dust and any contaminants that could scratch the paint during sanding.
Step 3: Soak the Sandpaper
Immerse the wet/dry sandpaper in water for about 10–15 minutes. This helps lubricate the sandpaper and prevent it from clogging.

Step 4: Spray the Surface
Use a spray bottle to apply water to the area you’re sanding continuously. Keep the surface wet throughout the process to avoid excessive friction.
Step 5: Start Sanding
Begin with the lowest grit (1000 or 1500) and gently sand the area in straight, even strokes. Avoid circular motions to prevent swirls. Sand lightly to remove imperfections. Do not press too hard as this could remove too much clear coat or paint. Keep checking the surface by drying it off with a microfiber cloth. You should see the imperfections levelling out.
Step 6: Gradually Move to Higher Grits
After the initial pass, switch to higher-grit sandpaper (2000 to 3000). Continue to sand with gentle strokes, keeping the surface wet. This step will smooth out the scratches left by the coarser grits.
Step 7: Rinse and Dry
Once the surface feels smooth, rinse the area thoroughly with clean water and dry it with a microfiber towel.
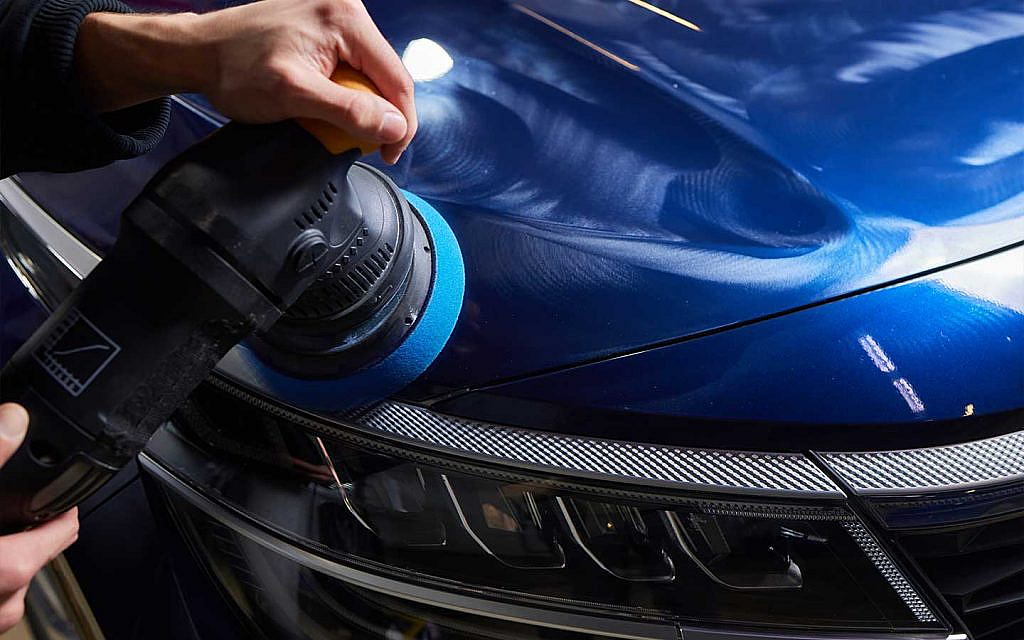
Step 8: Polishing
Apply the polishing compound to the sanded area using an orbital polisher or by hand. This will restore the shine and gloss lost during sanding. After car polishing, buff the surface with a clean microfiber cloth to reveal a smooth, glossy finish.
Step 9: Apply Wax
Finish by applying a layer of protective wax. This will seal the paint and give it a long-lasting shine while protecting it from future damage. Besides, you can also explore these top places to get your car polished in Dubai.
Benefits of Wet Sanding a Car
Here are the benefits of wet sanding a car:
- Removes imperfections: Wet sanding can effectively remove scratches, blemishes, oxidation and even stubborn stains from your car’s surface.
- Smooth surface: By levelling out uneven areas of the paint, wet sanding results in a smoother finish that’s often necessary before polishing.
- Enhanced gloss: After wet sanding, car polishing and waxing, it brings out a deep shine that dramatically improves the car’s appearance. However, if don’t know the difference between car waxing vs car polishing, check out this guide,
- Refinishing option: It’s a key step in vehicle restoration, allowing for a refined finish on older cars.
Tips for Wet Sanding Scratches on Car Surfaces
Wet sanding is an effective method for removing scratches, but it requires care and attention to detail to avoid causing further damage. Here’s how to get it right:
- Start with a Test Spot: Begin by sanding a small, hidden area of the car to gauge how the paint responds. This prevents potential damage to more visible sections if the surface is too delicate.
- Select the Correct Grit Sandpaper: For minor surface scratches, start with 2,000-grit sandpaper. To repair deeper scratches, use 1,500-grit initially, then work your way up to finer grades like 2,500 or 3,000 to smooth out the area.
- Blend the Edges Seamlessly: When sanding, go slightly beyond the scratch itself. This ensures the sanded area blends smoothly with the surrounding paint, reducing the risk of creating noticeable edges or dips.
- Polish and Wax for a Flawless Finish: Once the scratches are removed, follow up with a polish to restore shine. Applying wax afterwards helps protect the freshly sanded area, sealing it from moisture and future scratches.
Wet Sanding vs. Dry Sanding for Cars
When it comes to restoring faded car paint, let’s explore the key differences between wet sanding and dry sanding.
Lubrication
Wet sanding uses water as a lubricant to minimise friction and heat buildup. This prevents damage to the paint by keeping the surface cool and reducing the risk of burn-through or gouging. In contrast, dry sanding lacks this lubrication, increasing the risk of overheating and causing scratches.
Finish Quality
Wet sanding produces smoother, more refined results, ideal for achieving a high-gloss, polished finish. Dry sanding is more suitable for the rapid removal of material, such as paint or primer and is often used in the early stages of repair work.
Aggressiveness
Wet sanding is a gentler process, making it less likely to damage delicate surfaces like clear coats or soft paint. Dry sanding is more abrasive and can strip layers quickly, but requires more care to avoid unintentional damage.
Cleanliness
Wet sanding keeps the work area cleaner by washing away sanding debris with water, reducing airborne dust. Dry sanding, on the other hand, generates a lot of dust, which can be messy and may even cause surface contamination if not managed properly.
FAQs
When to Wet Sand a Car After Painting?
Wet sand after the paint has fully cured, typically 24 hours to a week, to remove imperfections before final polishing.
How to Avoid Damaging Paint While Wet Sanding a Car?
Use fine-grit sandpaper (1,500 to 2,500), keep the surface wet and apply light pressure. Once done, sand evenly to prevent damage. Besides, you can also perform DIY car paint correction to further improve the car’s appearance.
What Grit Sandpaper Should I Use for Wet Sanding a Car?
Use 1,500 to 2,500 grit sandpaper for wet sanding, depending on the surface’s condition and the level of imperfections.
With this, we conclude how to wet sand a car. Wet sanding is an effective way to restore your car’s paint by eliminating imperfections and giving it a like-new finish. By using the proper technique and grit progression, you can achieve a smooth and glossy surface.
If you’re planning to buy used cars in the UAE, wet sanding can help restore the paint to a near-new finish, removing minor scratches and imperfections.
Stay tuned to the dubizzle car blog for more expert tips on car care and maintenance!
Related Posts