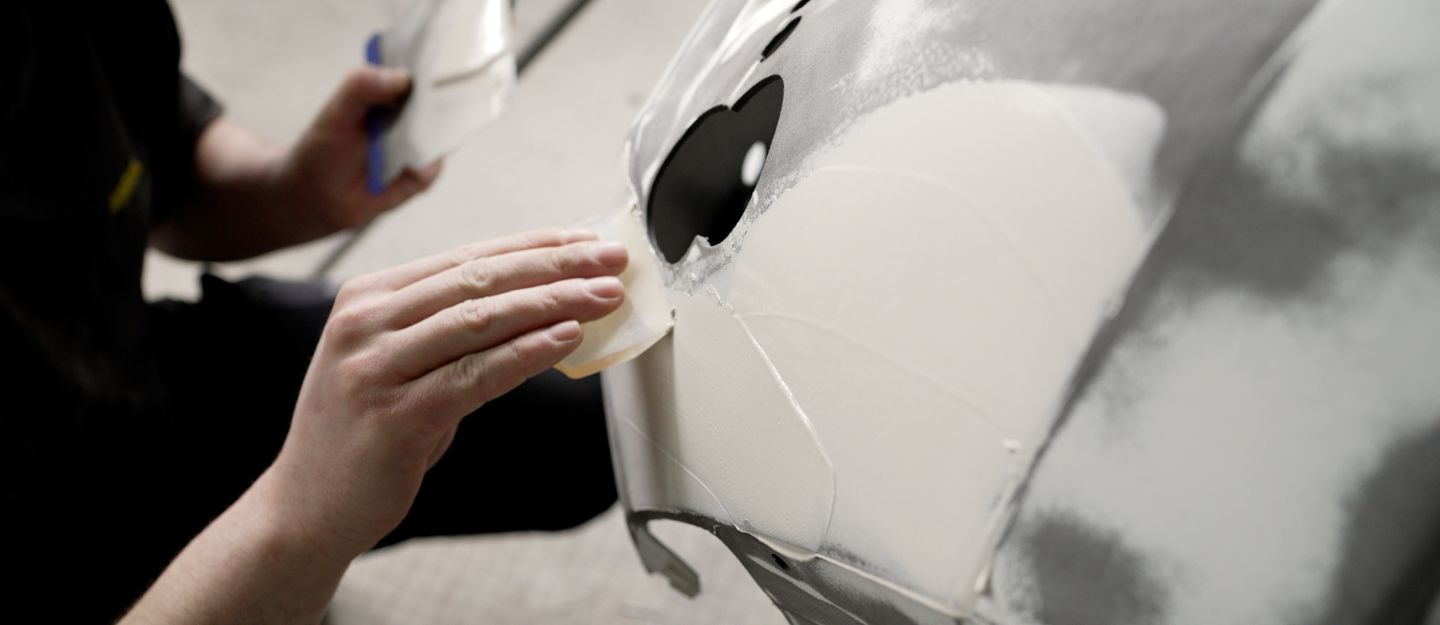
Often considered the holy grail of minor bodywork, automotive body filler plays a crucial role in vehicle repair. It is commonly used to fix dents, deep scratches and other surface imperfections. Mastering the proper application of automotive body filler is essential for both professional auto technicians and DIY enthusiasts alike. When done correctly, it not only restores the vehicle’s aesthetics but also saves time and costs associated with full panel replacements.
Automotive Body Filler Application Steps
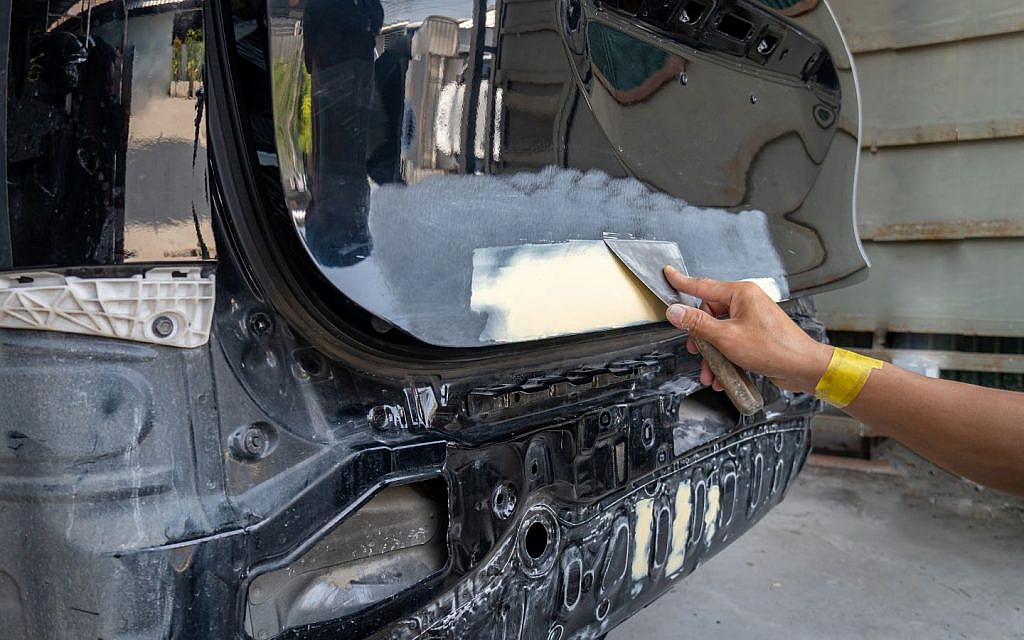
Before starting the application process, it’s essential to pick the right type of automotive body filler for the repair. Lightweight fillers are ideal for small dents and surface imperfections, while reinforced options with fibreglass or metal work best for deeper or structural repairs. Once you’ve selected the right product, proper preparation and technique will ensure a smooth, long-lasting finish.
Step 1: Clean the Surface
To begin the process, it is crucial to thoroughly clean the car’s surface to remove all dirt, grease and contaminants from the damaged area. This can be done by using warm water, a degreaser or car shampoo. Finally, you can wipe the surface with rubbing alcohol to ensure it’s completely clean and ready for sanding and filler application.
Step 2: Sand the Area
Sand the damaged area and surrounding paint using coarse sandpaper to create a rough surface for better filler adhesion. Ensure that you remove any loose paint, rust or debris during this step.

Step 3: Apply Primer
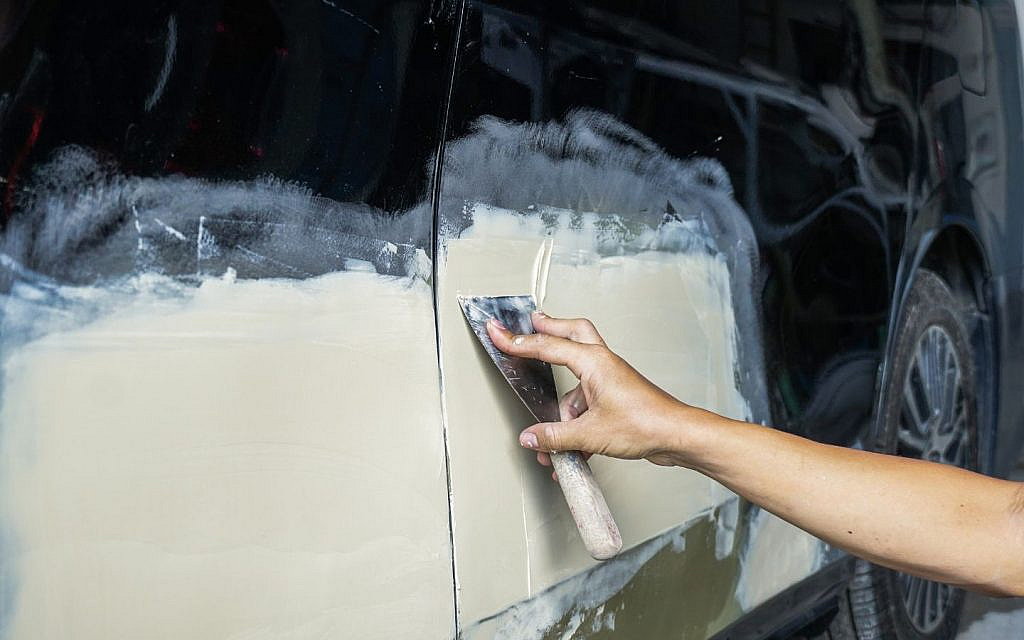
When working with bare metal or severely damaged spots, apply a suitable primer to enhance adhesion and provide a solid foundation for the filler. Let it dry completely, then lightly sand the surface to ensure proper grip.
Step 4: Mix the Body Filler
Body filler is usually supplied as a two-part system consisting of the filler itself and a hardener. It is essential to follow the manufacturer’s recommended mixing ratio carefully, as incorrect proportions can lead to issues with curing and durability. Mix until the colour is completely uniform and free of streaks. Improper mixing can lead to brittleness, cracking or a filler that fails to cure properly.
Step 5: Apply the Filler
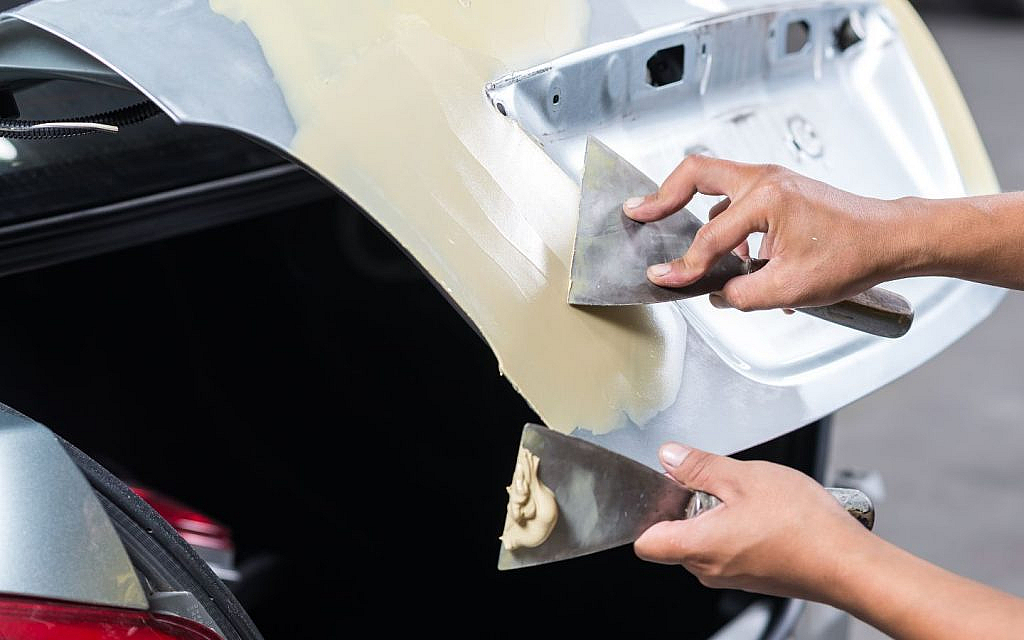
Using a plastic spreader or putty knife, apply a thin, even layer of body filler over the damaged area. Work with smooth, consistent strokes to shape and level the surface as you go. Avoid thick applications that can trap air bubbles or require extensive sanding later. A steel ruler or straight edge can help you smooth the filler and determine whether multiple layers are needed.
Step 6: Shape and Sand the Filler
After the filler has fully hardened, you can begin sanding the area using coarse-grit sandpaper, such as 80 grit, to remove any excess and start shaping the surface. As the shape takes form, gradually switch to finer grits like 180 and then 320 to refine the surface and get it smooth enough for primer application. As you sand, consistently monitor your work to avoid removing excessive filler or distorting the desired shape. Whether you’re dealing with large panel work or fixing small car dents, gradual sanding ensures a flawless finish and proper blending.
Step 7: Final Finishing
Once the filler has been shaped and smoothed, apply a coat of primer to seal the area and create a suitable base for painting. Allow the primer to dry completely, then gently sand it with fine-grit sandpaper to ensure a smooth surface. Apply thin, even layers of matching automotive paint, letting each coat dry before adding the next. Finally, finish with a clear coat to enhance the shine and protect the repair.
FAQs
How do I prepare the surface before applying body filler?
Clean, sand and remove rust from the car’s surface to ensure proper adhesion before using body automotive body filler.
How thick should I apply the body filler?
Apply car body filler in thin, even layers no thicker than about 1/8 inch to prevent cracking and ensure proper curing.
Should I use primer after sanding the body filler?
Yes, you should apply primer after sanding the body filler to create a smooth, sealed surface that improves paint adhesion and protects against moisture and corrosion.
Applying automotive body filler may seem like a detailed process, but with the right tools, materials and techniques, it becomes a manageable and rewarding task. From surface preparation to final paint finishing, each step plays a critical role in restoring your vehicle’s appearance and structural integrity.
If your current vehicle is beyond repair or simply requires more work than it’s worth, it might be time to consider an upgrade. Here are some used cars for sale in the UAE that offer great value and reliable performance. For brand new rides, go through these new cars for sale in the UAE.
Keep reading dubizzle’s auto blog for tips on car maintenance and DIY repairs.
Cover Image Credits: Shutterstock Image Contributor – Sidorov_Ruslan
Related Posts


