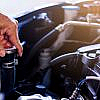
Wheel spacers are used to increase the width of the axle. Besides aesthetic value, wheel spacers influence the safety and stability of the vehicle, so it is essential to assess their characteristics and install them correctly. Here is the step by step guide that can help you to install the wheel spacer correctly.
Step-by-Step Guide to Install Wheel Spacer

Installing wheel spacers is one of the inexpensive ways to upgrade a car to make it look expensive. Wheel spacers do not change the geometry of the car suspension, compromise the balance of the rims or change the turning radius. They increase the handling of a car when cornering.
It is advisable to measure the distance between the vertical part of the fender and the tyre to get the correct wheel spacers. Prefer slightly smaller spacers, so that the wheel does not protrude from the body. Following are the steps to install car wheel spacers. However, it is recommended to follow the manufacturer’s instructions to install the wheel spacers. Also, it is important to note here that this is how most spacers are installed but the process may vary for some special types of spacers.
Tools Needed
- Floor Jack
- Jack
- Stands Lug
- Wrench Torque Wrench
- Cleaner or degreaser
- Rags
Step 1: Buy Suitable Wheel Spacer
Before installing wheel spacers make sure you buy one that are particularly designed for your vehicle. Otherwise, they will not fit properly.

Step 2: Park the car on a Smooth Surface
Before you install, make sure your car is parked on the levelled surface. It is important to note here that never try to fasten the lug nuts before raising the vehicle.
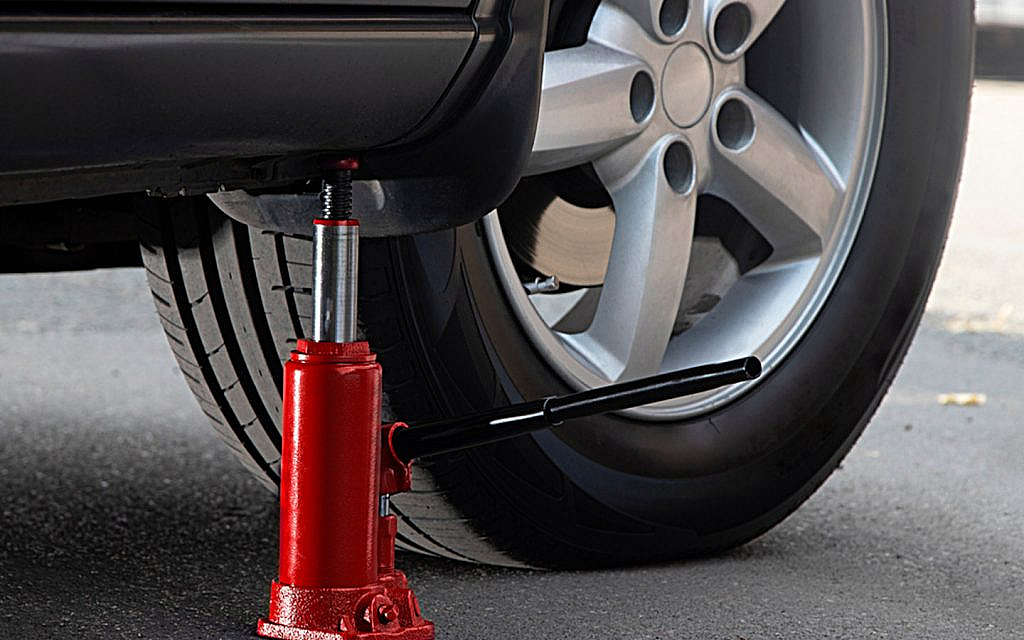
Step 3: Loosen All Bolts
Make sure all the nut bolts are loosened and lift the vehicle with a floor jack by using factory jacking points. Finish removing the wheels and setting them aside.
Step 4: Spray degreaser
Spray degreaser to the hub area and wipe it off with a rag. If it is very dirty, use a brush and rub the lug studs until the surface becomes clean and smooth. Dry the area with a clean, dry cloth.
Step 5: Put Wheel Spacer in Place
Place the spacer wheel over the existing studs. Use a socket and ratchet to install the screws provided to the studs and hold the spacer on.
Step 6: Tighten the bolts

Tighten the nuts holding the spacer to the factory recommended settings with a torque wrench. Consult your workshop manual for details
Step 7: Repeat Steps for Remaining Wheels
Repeat the spacer installation on all four corners of the vehicle. Slide the wheels into all four corners over the wheel spacers and onto the spacer wheel studs. Install the nut factory on top of the wheels.
Step 8: Carefully Lower Car
Lower the vehicle to the ground with the ground jack. Tighten the nuts on the wheels with a torque wrench to factory settings.
Also, make sure there should be no gap between the brake rotor and a spacer. The hub sidewall and the spacer must be in the same alignment. When purchasing spacers, there are also things to consider such as the rim structure and the wheel hub.
Moreover, improper installation can put the driver’s safety at risk. Wheel hub spacer bolts must not damage driving aid devices such as ABS sensors. The assembly and structure do not affect the use of the spacers bolted to the hub. To achieve good strength, approximately 10-12mm of the thread should be inside the wheel hub.
It is also essential to be aware that the use of the spacer can modify the handling of the car. Therefore, the driver must have an adaptation period to avoid possible accidents.
With this, we conclude our guide on how to install wheel spacers. Wheel spacers not only improve handling and give your car a sporty look, but they can also ensure that all the wheels are properly fit to a vehicle.
Besides, pay more attention to the other vehicle parts and follow proper car maintenance checklists. This includes suspension and hubcap, which can experience greater wear and tear. You can check out the listings of used cars for sale in the UAE if you are planning to buy a car for wheel spacer installation in the UAE.
To get more information on auto parts and their usage, stay tuned to the UAE’s favourite auto blog.
Related Posts