When you enter the car and the interior smells like a rotten egg or dirt sock, you may have mould in the vehicle. That said, ensuring a clean and healthy environment in a car is essential. Mould is a fungus that may become detrimental for the ones with lung disease or weak immune systems.
Even for people with no health issues, mould can react and cause nasal congestion, wheezing, shortness of breath, a fever, eye irritation or a skin rash. That’s why car mould removal is necessary to ensure a clean and healthy interior.
Here is a step-by-step car interior mould removal process that will help you clean up the car, but before that, let’s learn what causes mould growth.
Causes of Mould Growing in Car Interior
Mould growth in car interiors is due to several factors, but the primary contributors are excessive moisture and poor ventilation. Here are some common reasons for mould growth in car interiors:
- Any leaks in the car’s roof, windows, doors, or even the trunk create a damp environment ideal for mould growth.
- Leaving damp items, such as wet clothes, towels, or umbrellas, can introduce moisture into the car interior, promoting mould growth.
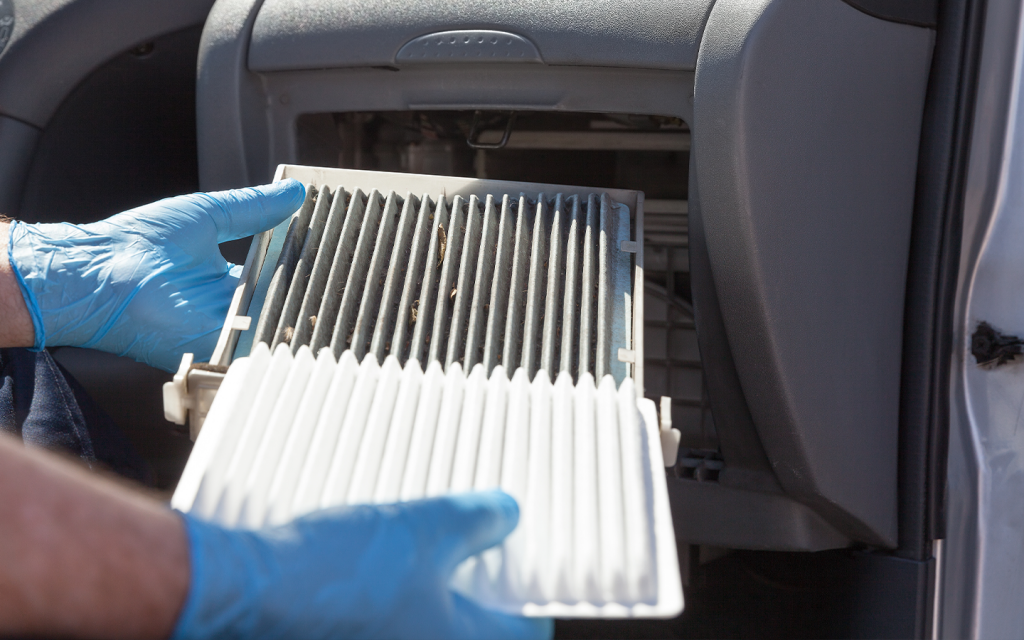
- When warm, humid air comes into contact with cool surfaces in the car, such as windows or air conditioning vents, it can cause condensation. That said, moisture can contribute to mould growth.
- Any spills, such as drinks or food, may linger moisture from spills, creating a breeding ground for mould.
- If you live in an area with high humidity, the moisture in the air can penetrate the car’s interior and create conditions favourable for mould growth.
However, the car mould removal process will help clean the interior and prevent mould growth. Let’s go through the complete procedure.

Car Mould Removal Process
One can remove mould from the car interior using the ways to disinfect a car:
Step-1: Safety Precautions
When removing mould from a car, prioritise safety.
- Wear protective gear such as gloves, a mask, and goggles to shield yourself from mould spores.
- Work in a well-ventilated area by opening windows and doors to minimise exposure.
- You can also buy essential things for the car’s interior cleaning, such as solutions, spray bottles and microfibre clothes.
Before cleaning, dampen the mouldy surfaces with water to minimise the release of spores. Choose an appropriate mould cleaner for automotive surfaces and thoroughly clean upholstery, carpets, and ventilation. Ensure the car is completely dry to prevent mould regrowth.
Step-2: Remove Affected Items
Take out any items from the car’s interior that have visible mould growth or are prone to mould infestation, such as carpets, seat covers, and floor mats. Place them in a well-ventilated area to clean separately.
Step-3: Vacuuming
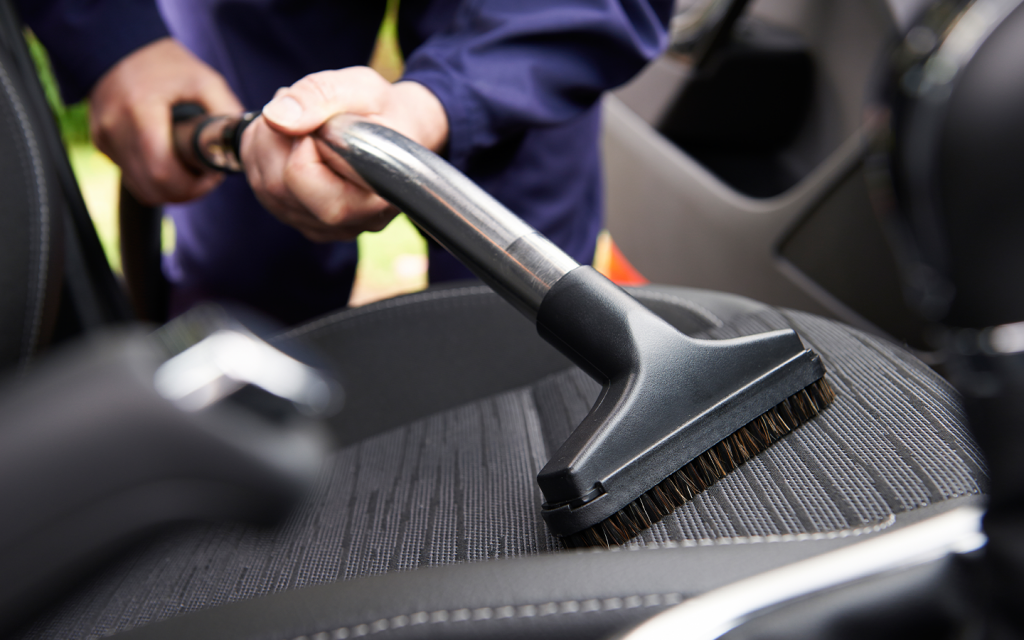
Use a vacuum cleaner with a HEPA filter to thoroughly vacuum the car’s interior, including the seats, floorboards, and any hard-to-reach areas. It will help in mould removal from car seats and carpets.
Step-4: Cleaning Solution
Depending on the severity of the mould and the type of cleaner you choose, you can dilute bleach or hydrogen peroxide with water. Here are two options:
- Bleach solution: Mix 1 part bleach with ten parts water. For example, use 1 cup of bleach with 10 cups of water.
- Hydrogen peroxide solution: Use a 3% concentration of hydrogen peroxide and mix it with water in a 1:1 ratio. For example, combine 1 cup of hydrogen peroxide with 1 cup of water.
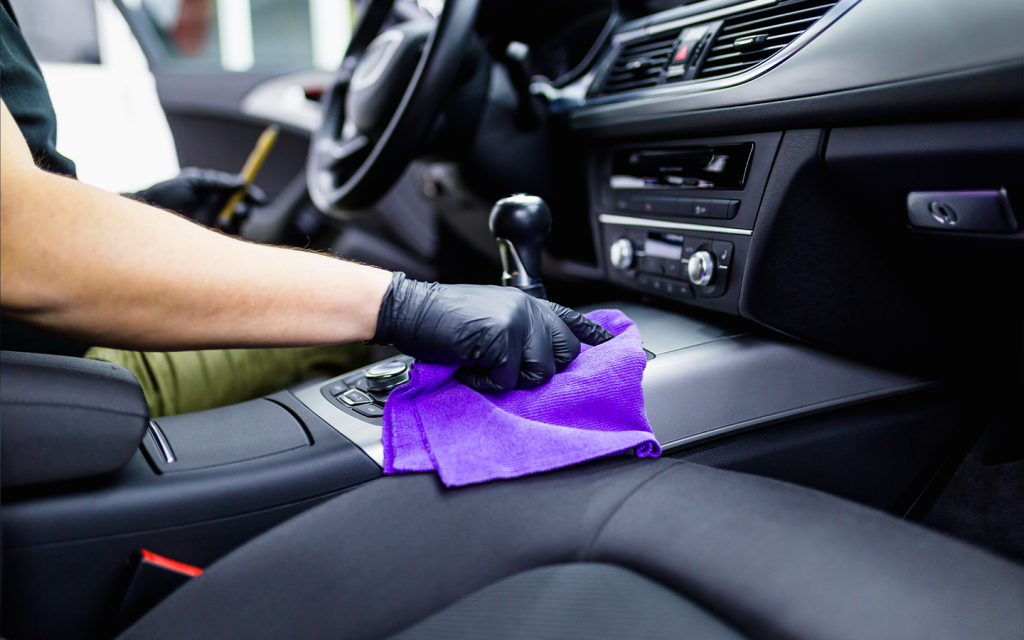
Additionally, you can mix vinegar with water since this solution can also help in car mould removal. After that, dip a clean cloth or sponge into the cleaning solution and wring out any excess liquid. Wipe down all surfaces inside the car, such as the dashboard, door panels, and seats, to remove any visible mould.
Step-5: Scrubbing
For stubborn mould stains, use a soft brush or toothbrush dipped in the cleaning solution to scrub the affected areas gently. Be cautious not to damage the upholstery or any sensitive surfaces.
Step-6: Drying
After cleaning, open the car’s doors and windows or use a fan to facilitate airflow and aid in drying out the interior. Mould thrives in damp conditions. Therefore, ensuring proper drying is essential to prevent regrowth.
Step-7: Cleaning Carpets and Upholstery
If the carpets or seat covers have mould growth, follow the manufacturer’s instructions for cleaning or consider professional cleaning services. You can also use a specialised automotive upholstery cleaner or consult a professional for mould removal in car carpets.
Step-8: Prevention
Keep the car’s interior clean and dry. Avoid leaving damp items in the vehicle, especially in humid environments. You can follow tips to clean your car seats without leaving the water spots because humidity allows mould growth. Regularly clean and disinfect the car, and consider using moisture-absorbing products like silica gel packs or dehumidifiers to avoid mould growth.
You can also follow tips for car interior detailing to take hygiene measures and keep your vehicle clean.
Step-9: Monitor for Regrowth
Keep an eye on your car’s interior for any signs of mould regrowth. If you notice mould returning or have persistent mould issues, follow the tips for the car’s interior protection.
Mould growth can pose severe health issues. However, you can use the above process for car mould removal. Furthermore, ensure preventative maintenance and measures to avoid mould growth.
If you are looking for a used car for sale in the UAE, check the vehicle’s interior and exterior carefully. Moreover, you can follow the tips to remove water stains from the car’s upholstery and dry your car completely to avoid mould regrowth.
Stay tuned to the dubizzle autos blog and learn more about various preventive measures and car maintenance tips.
Related Posts